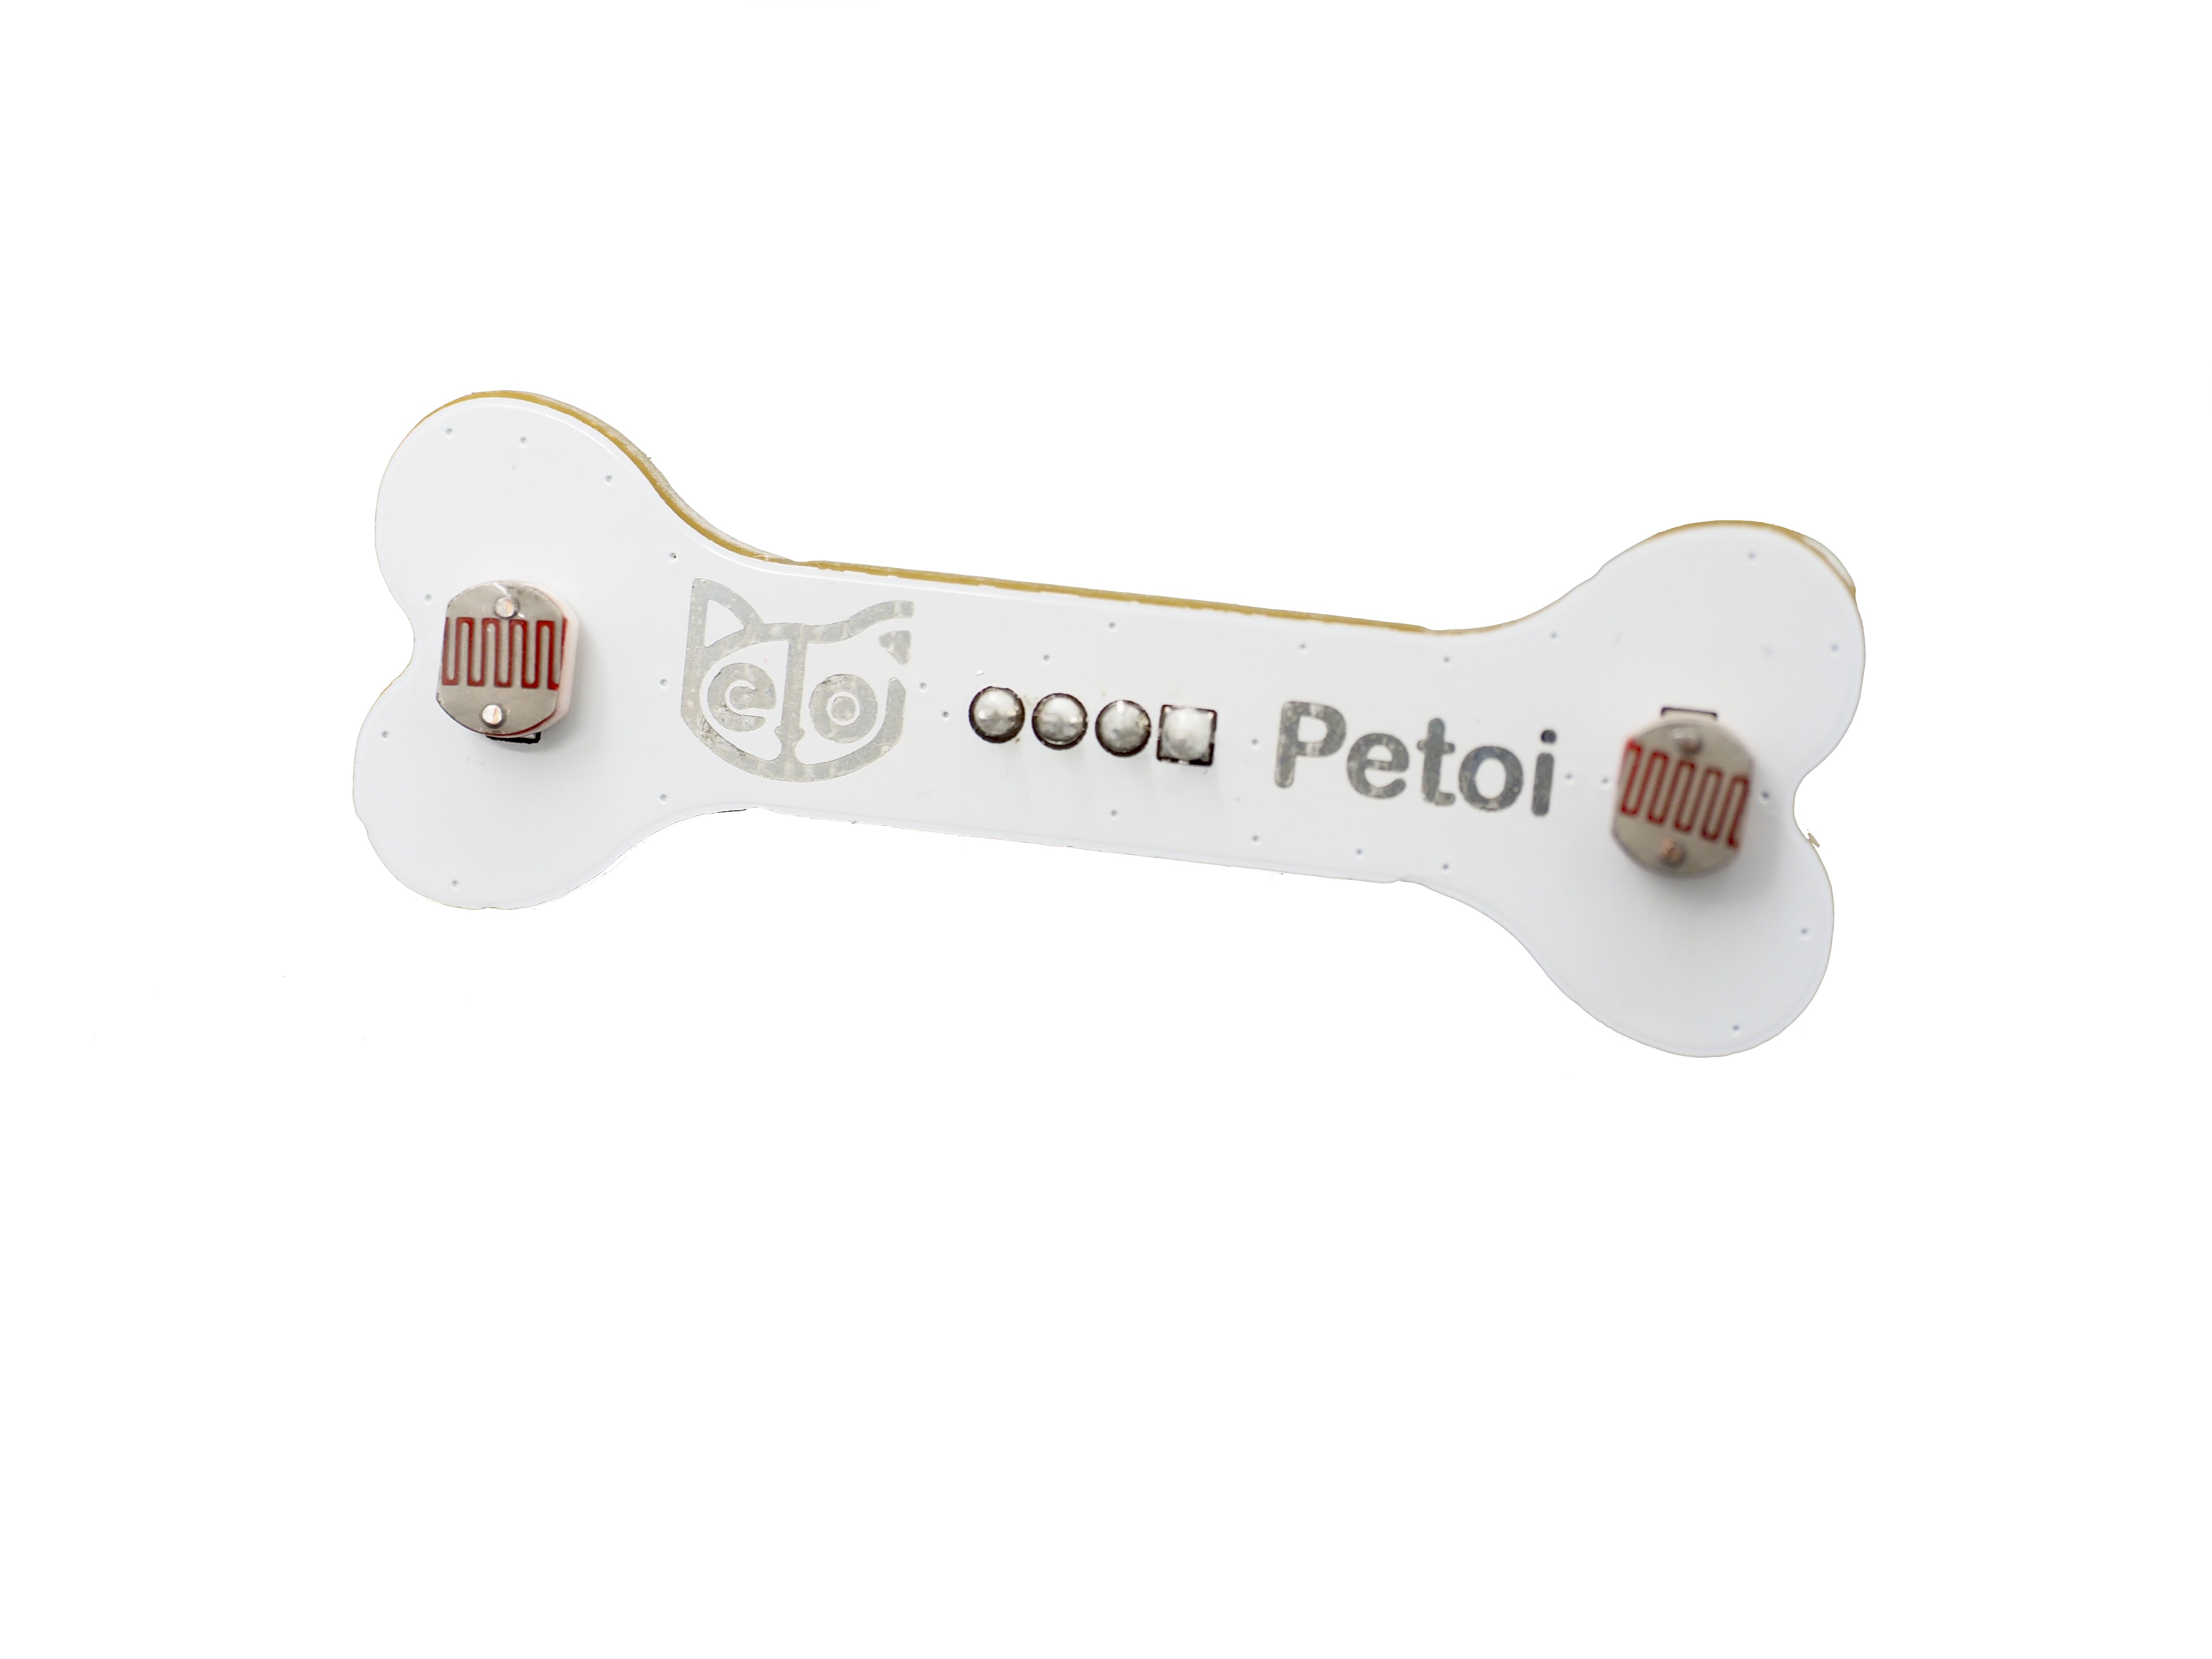
# Light Sensor
## Function introduction
The sensor integrates two photoresistors (depending on the light intensity adjustment resistance) to detect the light intensity. The photoresistor is a special resistance that uses the photoconductive effect, and its resistance is directly related to the intensity of the incident light. When the light intensity increases, the resistance decreases; when the light intensity decreases, the resistance increases. The output signal is an analog value, the brighter the brightness, the larger the value. You can realize the function you want by judging the value of the detected light intensity, such as the function of a robot tracing light.
## Hardware setup
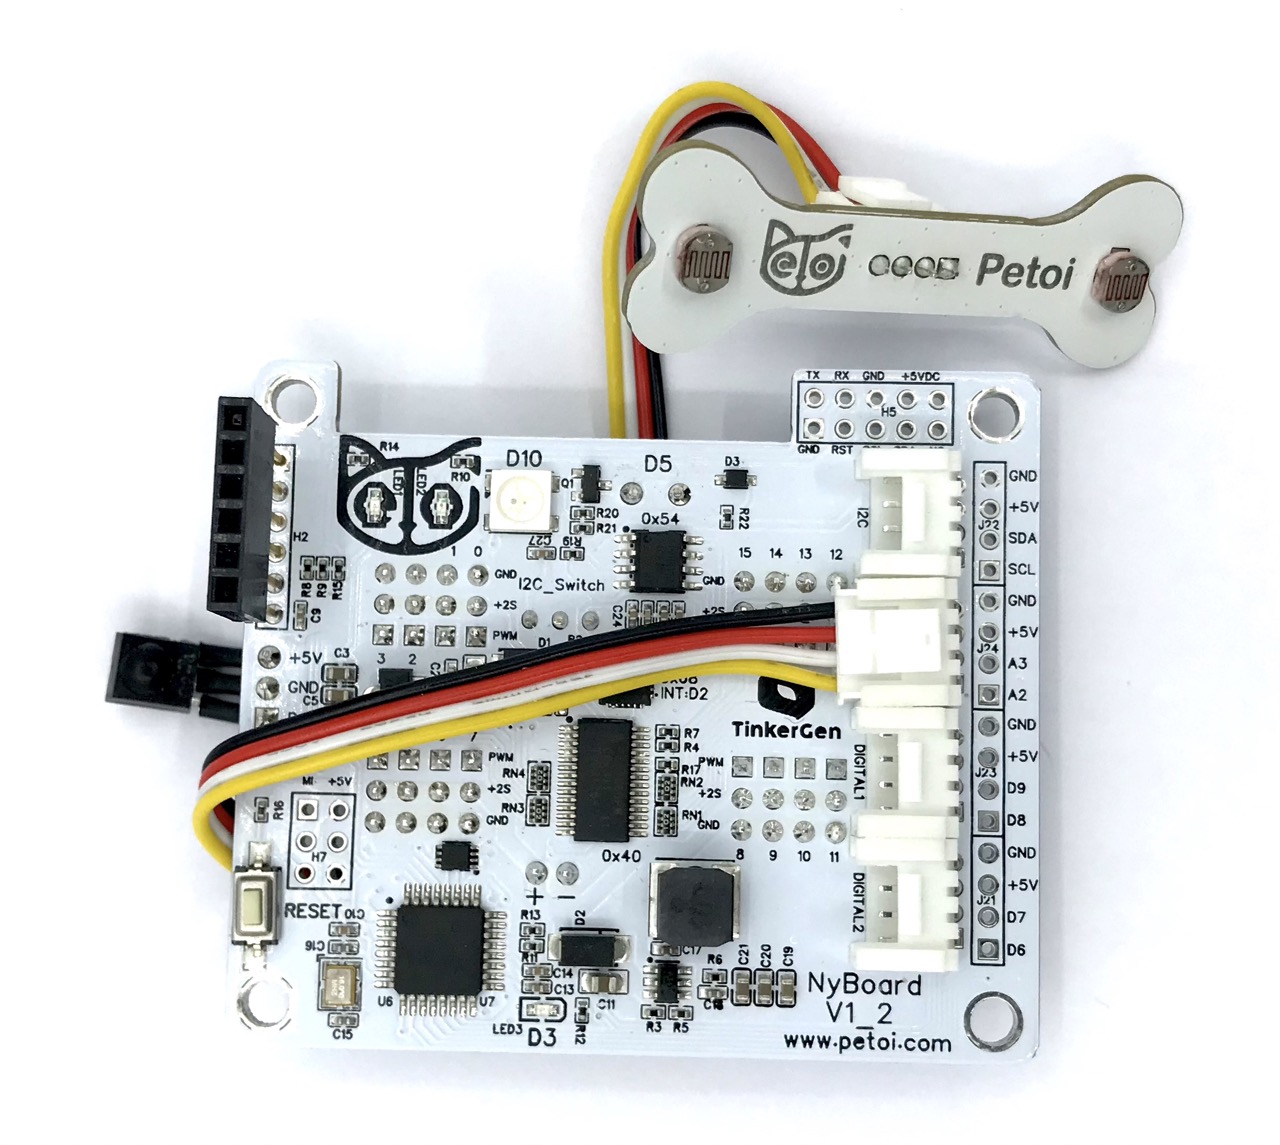
Connecting to the NyBoard with wire as shown in the following picture:
For specific use, the end connected to the sensor can be fixed on the robot's head (included in Bittle's mouth, or attached to the top of Nybble's head), of course, you can also use your creativity according to actual needs.
## Software setup
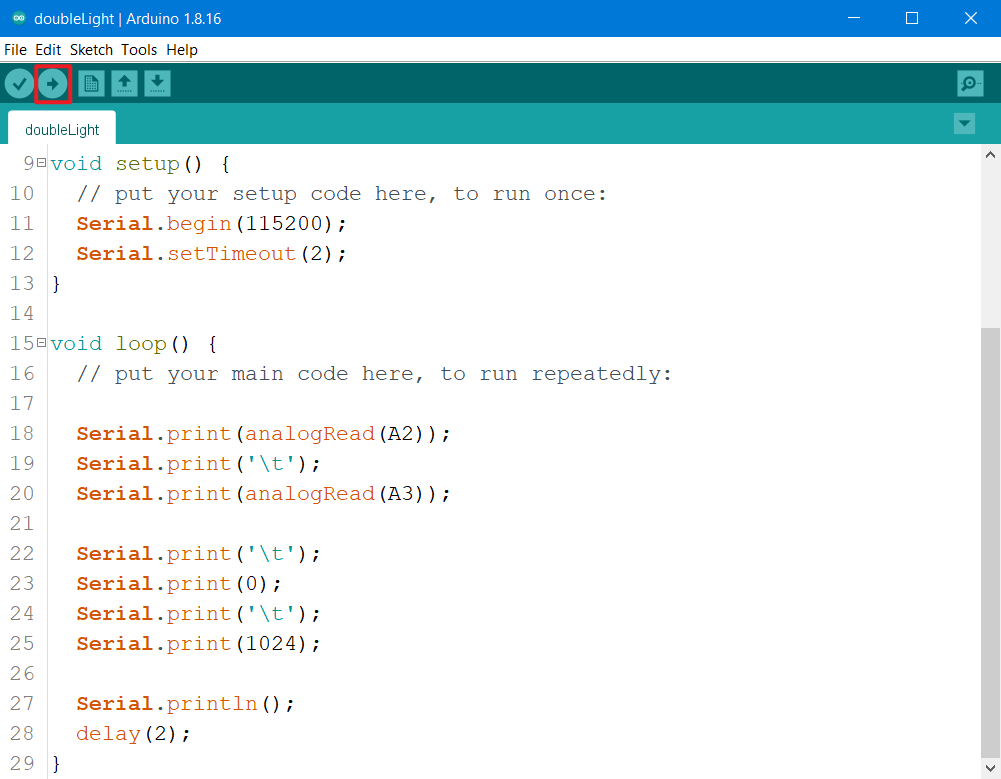
You can use the [Arduino IDE](https://www.arduino.cc/en/software) to upload the demo code (doubleLight.ino) or compile and upload your own code.
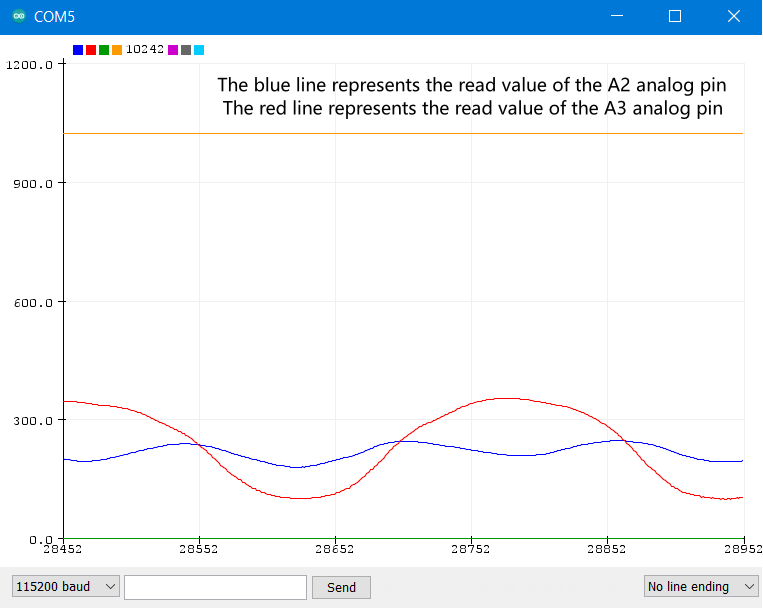
This demo sketch (doubleLight.ino) implements real-time printing of the analog values of the two analog pins (A2 and A3) in the [serial monitor](https://docs.petoi.com/arduino-ide/serial-monitor). You can also use the serial plotter to view the two analog pins (A2 and A3) more intuitively. The waveform graph generated by the analog value of the pin output along the time axis.
### The demo code
{% file src="" %}